Video Call Setup Guide: Look and Sound Professional at Home
Category: How-To Guides | Reading time: 11 min | Last updated: September 2026
Disclosure: This post contains affiliate links. If you buy through our links we may earn a small commission at no extra cost to you.
Most people look bad on video calls for three fixable reasons: the light is behind them, the laptop mic picks up the whole room, and the webcam points up their nose. This video call setup guide fixes all three, step by step, starting with the changes that cost nothing.
You don’t need a studio. Most of the improvement comes from the free fixes and one or two upgrades. Work through the steps in order and stop when your calls look and sound the way you want.
Jump to a step
Start here: the free fixes
Do these before buying anything. Together they solve most of what people notice on a call.
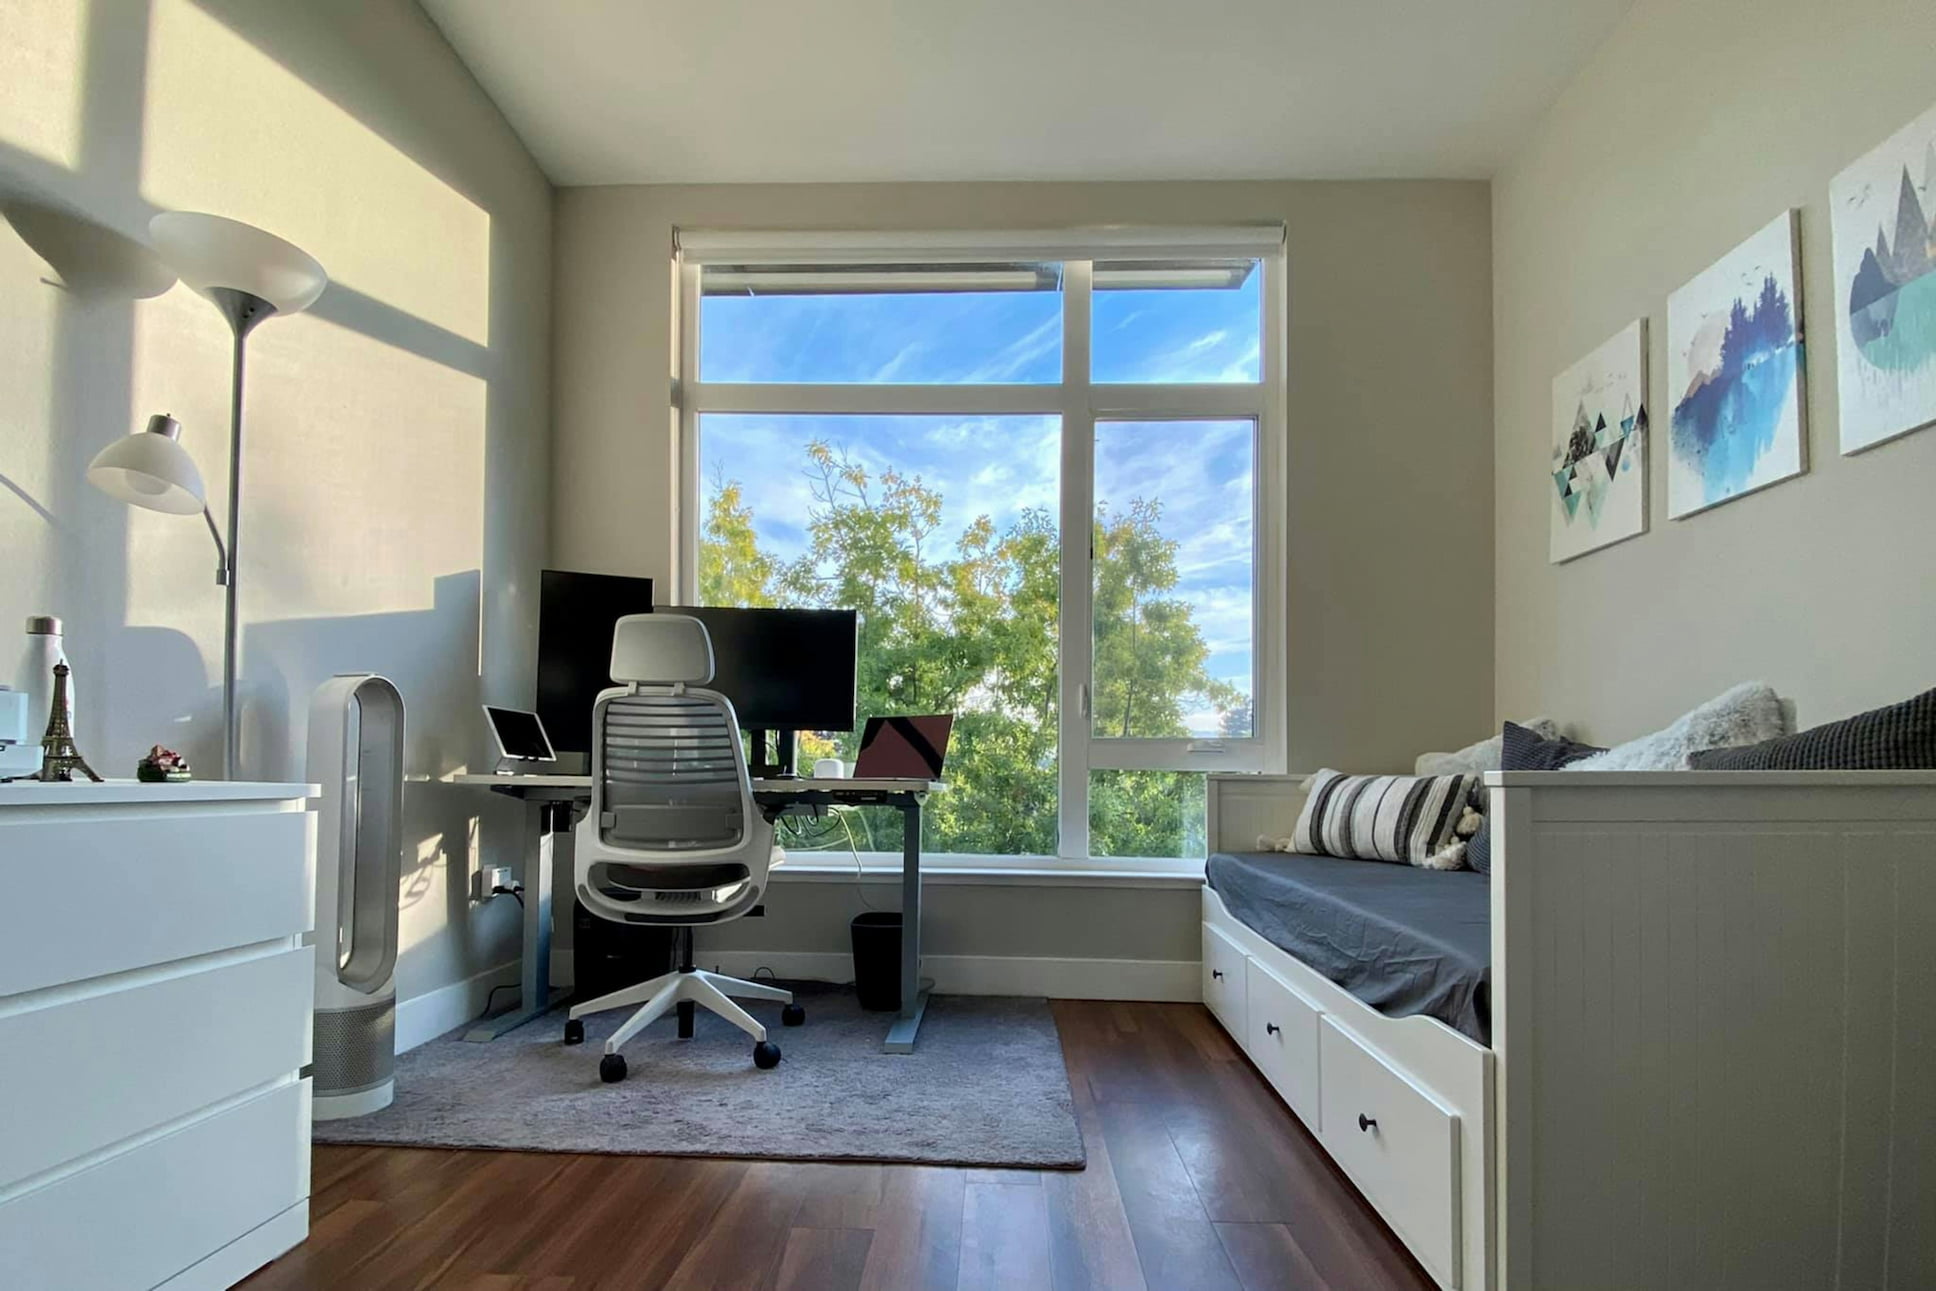
Face your window. Natural light from in front of you is the best light source you have. If your desk puts a window behind you, turn the desk around or move your chair to the side of it.
Raise your camera to eye level. Stack your laptop on books until the webcam lines up with your eyes. The unflattering upward angle disappears immediately.
Wear headphones. Even basic earbuds stop your mic from picking up the other person’s voice through your speakers, which is the main cause of echo on calls.
Clear what the camera sees. You don’t need to clean the whole room, just the area in frame. Five minutes before an important call is enough.
If your calls still don’t look or sound right after these, move on to the steps below.
Step 1: Camera position
Your camera’s position matters as much as the camera itself. A webcam below eye level makes everyone look down at you, and a built-in laptop camera adds a tiny sensor with fixed focus that struggles in anything but perfect light.
The fix is a dedicated webcam placed at eye level, slightly in front of you. If you work from a laptop, a laptop stand raises both the screen and the camera. If you use an external monitor or a standing desk, a clamp arm like the Neewer 22 inch webcam arm holds the camera exactly where you need it, independent of the screen.

The C920x has been the standard for professional calls for years, and it’s still the right first webcam for most people. It’s sharp enough for any meeting, the autofocus keeps you clear when you move, and it clips onto a monitor or arm in seconds.
Its one weakness is low light, where the image gets grainy. That’s why Step 2 matters: with a proper light in front of you, this camera looks noticeably better.
“Solid 1080p video quality for everyday use. Natural colors, autofocus works well, and setup is immediate with most conferencing software. Low-light performance isn’t great, the image gets grainy without proper lighting. Pair it with a ring light or key light and it performs significantly better.”
Who it’s for: Anyone still using a built-in laptop camera.
Pros:
- Reliable 1080p with autofocus
- No drivers or setup needed
- Built-in privacy cover
Cons:
- Grainy in low light
- Built-in mics won’t replace a dedicated microphone
Want more options? Our best webcam for Zoom guide covers six picks, and our Elgato Facecam vs Logitech Brio comparison covers the step up to 4K.
Step 2: Lighting
Lighting matters more than your camera. A great webcam in a dark room with a bright window behind you will always look worse than a basic webcam with good light on your face. The rule is simple: light in front of you, never behind.
If facing a window isn’t possible, a dedicated light is the next best fix. A ring light like the Neewer LED ring light is the budget option and works fine for everyday calls. A panel light gives softer, more natural light and avoids the ring shaped reflection in your eyes.

The Litra Glow clips onto your monitor and throws soft, even light on your face. You can warm it up for a natural look or cool it down for a crisp one, and it doesn’t take up desk space the way a ring light on a stand does.
It’s the upgrade for anyone on frequent calls, presentations, or recordings. For occasional calls, a ring light or a window gets you most of the way there.
“Wasn’t sure how much a small light would actually help. It surprised me. Soft, even light that makes everything look clearer without being harsh or blinding. Simple to adjust brightness and warmth depending on the time of day. Using it for video calls and occasional recording and it just makes things look more polished.”
Who it’s for: Anyone in a dim room or basement office, or with a window behind the desk.
Pros:
- Soft, natural looking light
- Mounts on the monitor, no stand needed
- Adjustable brightness and warmth
Cons:
- More than you need for occasional calls
- Lights your face, not the whole room
Our home office lighting guide covers more options, and our monitor light bar guide covers compact lights for your desk.
Step 3: Audio
People will tolerate a grainy image. They won’t tolerate audio that sounds like you’re calling from inside a washing machine. Your laptop mic picks up everything: keyboard clicks, room echo, and the dog three rooms away.
You have two paths. A headset with a boom mic sits close to your mouth and blocks background noise, which is the right choice for loud homes and all-day calls. A desk microphone sounds richer and fuller, which is the right choice for a quiet room, presentations, and recordings.

The H390 is the most practical audio fix on this list. The boom mic captures your voice from a few inches away and ignores most of the room, so it works in busy homes where a desk mic would pick up everything. It’s comfortable enough to wear all day.
It won’t sound like a studio microphone, but it’s a big step up from any laptop mic, and it’s the right answer for anyone in sales, support, or back to back meetings.
“Easy to plug in and use immediately, no setup required. Adjustable fit, comfortable ear muffs, and no issues with sound quality. One honest complaint: the boom mic is on the left side only. Not a dealbreaker but worth knowing before you buy.”
Who it’s for: Anyone on calls all day, or working somewhere with kids, pets, or street noise.
Pros:
- Boom mic blocks background noise
- Plug and play USB
- Comfortable for all-day wear
Cons:
- Mic is on the left side only
- Not as rich as a desk microphone
Ready for a desk mic? The Blue Snowball iCE is a simple, well-proven entry point. I’ve used one for almost 10 years and it still holds up. For the best voice quality from a USB mic, the RØDE NT-USB Mini is the step up, with a built-in headphone jack for monitoring. Our Blue Yeti vs Rode NT-USB Mini comparison breaks down which fits your setup. If you’d rather use headphones with a good built-in mic, our noise cancelling headphones guide and Bose QC Ultra vs Sony XM6 comparison cover which ones sound best on calls.
Step 4: Background
Your background says something about you before you speak. Clutter reads as disorganized, and a bare wall reads as flat. You don’t need to redesign the room. Three changes cover most of it:
Tidy only what’s in frame. Move anything distracting out of the camera’s view.
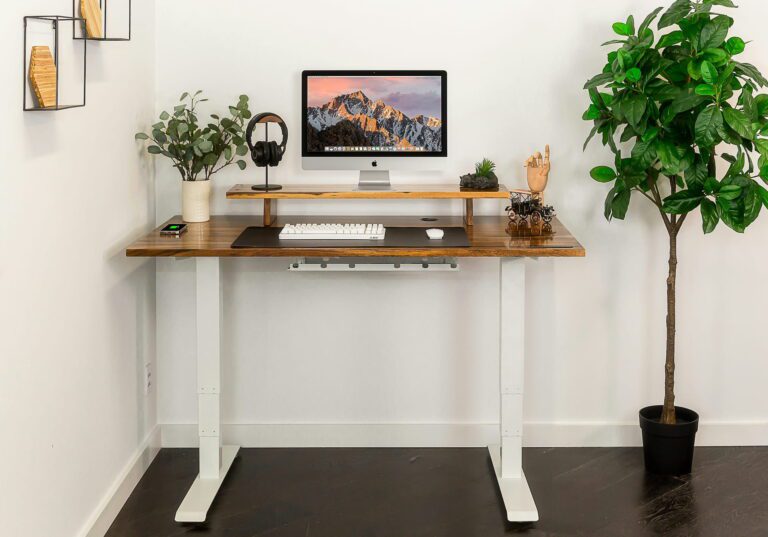
Add depth. A plant, a bookshelf, or a piece of art shows the space is lived in without looking busy.
Keep light sources out of frame. Lamps in the shot throw off your camera’s exposure, and a window behind you turns you into a silhouette.
If your room can’t be made to look right, a green screen gives you a clean virtual background without the blurry edges Zoom and Teams create around your hair and shoulders.

The Emart stands on its own, so you can set it up for a call and put it away afterward. For the cleanest edges, light the screen evenly. Patchy light on the green is what makes virtual backgrounds look rough.
Two things to know: it can be slightly see-through against a bright wall, which folding it double fixes, and it arrives wrinkled. A light mist of water and a few minutes pulled tight on the frame takes the wrinkles out.
“Two complaints I read before buying: it’s see-through and wrinkled out of the box. Both are fixable. For the see-through issue, double it up. For wrinkles, clamp it to the frame tightly, spray lightly with water, wait 5 minutes. Once you know these two tricks it works great.”
Who it’s for: Anyone whose room can’t be arranged into a clean background, or who presents and records often.
Pros:
- Freestanding, no wall mount
- Sets up and packs away quickly
- Cleaner edges than AI backgrounds
Cons:
- Arrives wrinkled
- Slightly see-through unless doubled
Step 5: Room acoustics
A great microphone can still sound hollow in the wrong room. Hard floors, bare walls, and empty space bounce your voice back into the mic as echo.
Start with what you already have. A rug, curtains, a full bookshelf, or a couch all absorb sound. If your office is a spare room with hardwood floors, a rug alone makes a real difference. If that isn’t enough, foam panels on the wall behind and beside your desk absorb the reflections before they reach your mic.

Mount the panels on the walls your voice hits first: behind your monitor and to either side of your desk. You don’t need to cover the whole room to hear the difference.
The trade-off is looks. Foam makes an office look like a recording booth, so if that matters, a heavy curtain or a packed bookshelf is a gentler option.
“Put them up in my home studio and the difference is noticeable immediately. The reverb reduction is dramatic compared to untreated rooms. They won’t stop bass frequencies, but for reducing highs and overall room echo they work well. These are actually 2 inches of foam.”
Who it’s for: Anyone whose voice sounds hollow or echoey, even with a good microphone.
Pros:
- Noticeable echo reduction
- True two inch thickness
- Covers a large wall area
Cons:
- Studio look isn’t for every office
- Doesn’t block low bass frequencies
Three setups to copy
Start with the free fixes, then pick the level that matches how much you’re on camera.
Essentials: fix the big three
| Area | Pick |
|---|---|
| Camera | Logitech C920x |
| Lighting | Neewer LED ring light |
| Audio | Logitech H390 headset |
This fixes the camera, the lighting, and the audio. For most remote workers, it’s all you need.
Upgrade: look and sound sharp
| Area | Pick |
|---|---|
| Camera | Logitech C920x |
| Camera position | Neewer 22 inch webcam arm |
| Lighting | Logitech Litra Glow |
| Audio | Blue Snowball iCE |
Softer light, a proper desk mic, and a camera at eye level. This is the setup that makes people ask what camera you use.
Full setup: presentations and recording
| Area | Pick |
|---|---|
| Camera | Logitech C920x |
| Camera position | Neewer 22 inch webcam arm |
| Lighting | Logitech Litra Glow |
| Audio | RØDE NT-USB Mini |
| Background | Emart green screen |
| Acoustics | Knightsacoustic foam panels |
Full control over every part of the call. This is for anyone who presents, hosts webinars, or records content from home.
Once your setup is dialed in, our HappyScribe review covers a tool that takes notes for you so you can focus on the conversation.
Frequently asked questions
What is the most important part of a video call setup?
Lighting. Light in front of your face improves any camera, including a built-in laptop webcam. Fix lighting first, then audio, then the camera.
Do I need 4K for video calls?
No. Zoom and Teams stream at up to 1080p. A 4K webcam can produce a slightly cleaner 1080p image, but the difference is small compared to fixing your lighting.
Is a desk microphone better than a headset?
It depends on your room. A desk microphone sounds better in a quiet space. A headset with a boom mic works better in a noisy home because it captures your voice up close and ignores the room.
Do virtual backgrounds work without a green screen?
Yes, but Zoom and Teams struggle with edges, especially around hair. For everyday calls the built-in background is fine. For presentations or recordings, a green screen looks much cleaner.
How do I stop echo on video calls?
Wear headphones so your mic doesn’t pick up the other person’s voice from your speakers. If your own voice echoes, add soft surfaces to the room. A rug is the single biggest improvement.
Continue reading
Prices change often. Check current pricing at checkout. Last updated September 2026.