How to Set Up Dual Monitors for Your Home Office (Step-by-Step)
Category: How-To Guides | Reading time: 9 min | Last updated: May 2026
Disclosure: This post contains affiliate links. We may earn a small commission if you buy through our links at no extra cost to you.
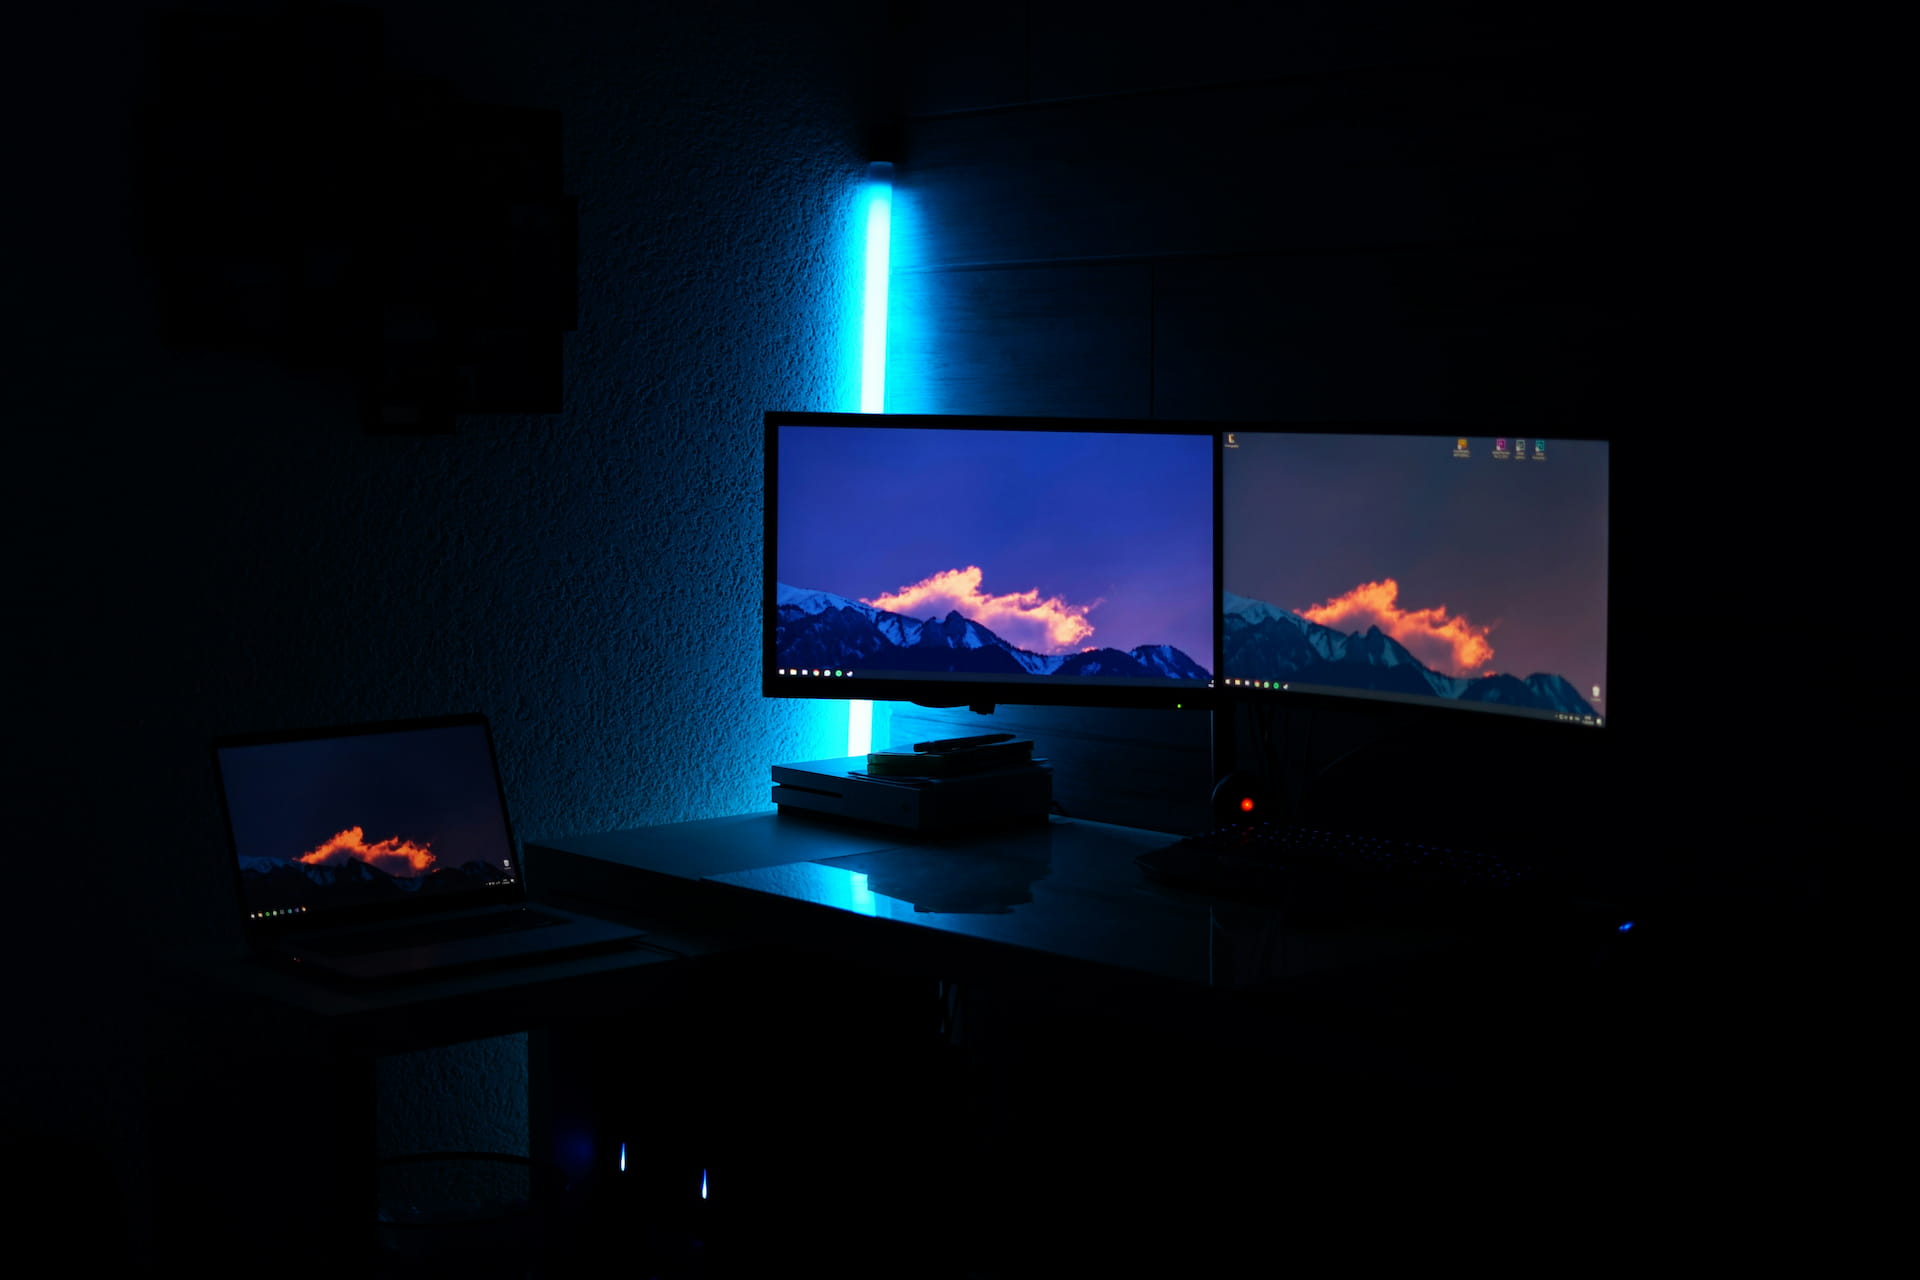
A dual monitor setup is one of the highest impact upgrades a remote worker can make. Research consistently shows productivity improvements of 20–42% for tasks involving multiple windows — and if you’ve ever tried to write a report while keeping your source material open, or take notes during a video call, you already know exactly why.
This is a complete, practical guide on how to set up dual monitors — from choosing the right second monitor, to connecting it, to configuring Windows or Mac to work the way you want.
No experience needed. If you can plug in a cable, you can do this.
Before you start: three things to check
1. Does your computer have enough ports?
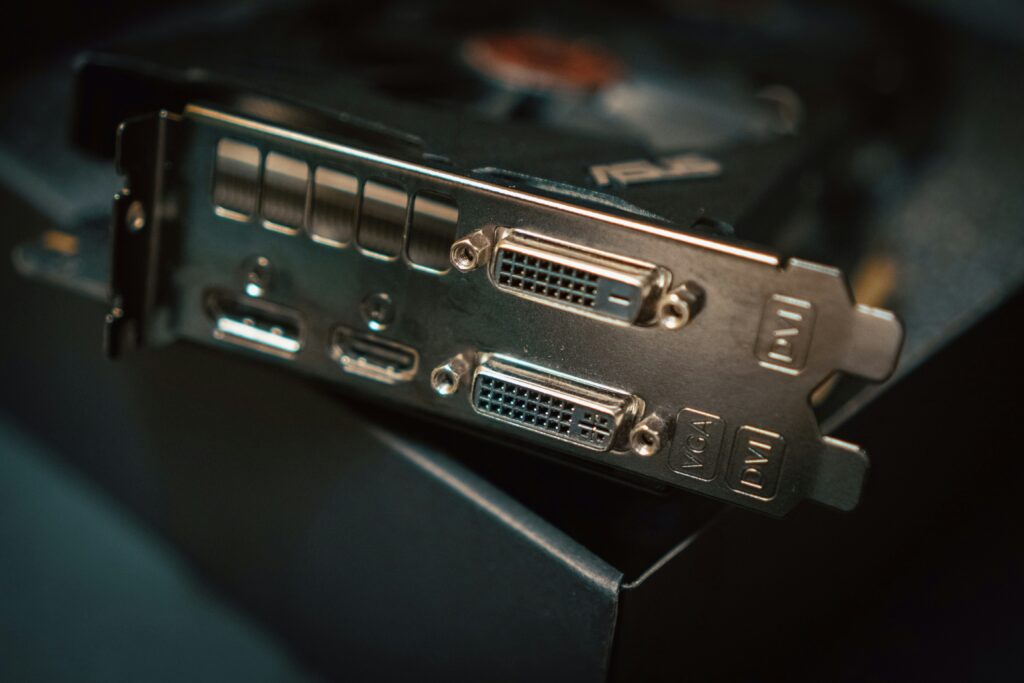
This is the question most guides skip. Before buying anything, check what video output ports your computer has.
On a Windows laptop or desktop: Look for HDMI, DisplayPort, USB-C (with DisplayPort), or DVI ports. Most modern laptops have at least one HDMI and one USB-C. Desktops usually have HDMI and DisplayPort on the graphics card.
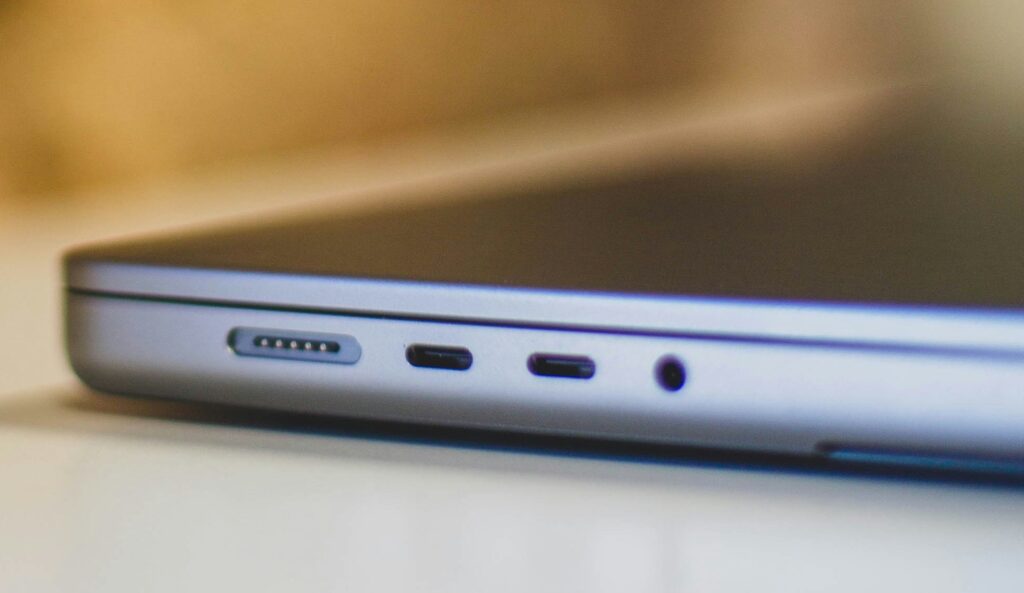
On a MacBook: Modern MacBooks (2019+) have Thunderbolt/USB-C ports only. You’ll need a USB-C to HDMI adapter or a dock with HDMI output. A quality adapter costs $15–$35 and is not the place to cheap out — bad adapters cause flickering and connection drops.
The rule: One monitor = one video output port. Two monitors = two video output ports (or one port + a dock/hub that provides additional outputs).
Recommended USB-C to HDMI adapter: Anker USB-C Hub 7-in-1 — Check price →
2. What cable does your second monitor need?
Check the back of your monitor for available input ports. Most monitors built in the last 5 years have:
- HDMI (most common)
- DisplayPort (better for high refresh rates and resolutions)
- USB-C (on monitors $250+)
For a basic dual monitor setup, HDMI cables work perfectly. For 4K or 144Hz+, use DisplayPort.
Cable recommendation: AmazonBasics HDMI cables are reliable and cheap — Check price →
3. Is your desk wide enough?
Two 24″ monitors side by side need about 52–54″ of desk width. Two 27″ monitors need about 60–62″. Measure your desk before ordering. You can even find a standing desk that fits two monitors from our post Best Standing Desks for Every Budget.
If you’re tight on space, consider a monitor arm that lets you position screens closer together and at different heights. This actually works better ergonomically anyway. If you are starting from scratch with your home office set up check out our $500 Home Office Setup That Beats Most $2,000 Ones.
What you’ll need
Required:
- A second monitor (see recommendations below)
- The right video cable(s)
- Enough desk space
Optional but recommended:
- A dual monitor arm ($25–$80) — frees desk space and improves positioning
- A USB hub/dock if your laptop is port-limited
Choosing a second monitor (what actually matters)
The best second monitor is usually one that matches your primary monitor’s size and resolution. Mismatched monitors (different heights, different brightness levels) create eye strain over a full work day.
That said, if budget is tight, a smaller second monitor for email/Slack/reference material works well at a lower cost.
Best budget second monitor (1080p, 24″): Dell P2422H — solid IPS panel, fully adjustable stand, widely available used. Check price new →

Best value second monitor (1440p, 27″): LG 27QN600-B — good color accuracy, thin bezels, reasonable price. Check price →

If buying used: Facebook Marketplace, OfferUp, and Craigslist regularly have Dell and LG monitors from office liquidations. A 24″ Dell in good condition often sells for $60–$90. Always ask the seller to power it on before you hand over money.
The bezel question: Thin-bezel monitors look better in dual setups but it’s purely aesthetic. Don’t pay a significant premium just for thin bezels.
Step-by-step: setting up dual monitors on Windows
Step 1: Connect the second monitor
Plug your cable into the monitor’s input port (usually on the back or bottom). Plug the other end into your computer’s video output port. Power on the monitor.
Windows will usually detect it automatically within a few seconds. If it doesn’t, right-click your desktop and click “Display settings.”
Step 2: Open Display Settings
Right-click anywhere on your desktop → click “Display settings.”
You’ll see a diagram showing two numbered rectangles — these represent your two monitors.
Step 3: Arrange your monitors
Click and drag the monitor rectangles to match how your physical monitors are positioned on your desk. If your second monitor is to the right of your primary, the rectangle labeled “2” should be to the right of “1.” This determines which direction your mouse travels when it moves between screens.
Click “Apply” to save.
Step 4: Choose your display mode
In Display Settings, scroll down to “Multiple displays” and choose:
- Extend these displays — the most useful mode. Each monitor shows different content, and your mouse moves between them. This is what you want for productivity.
- Duplicate these displays — both monitors show the same thing. Useful for presentations, not for daily work.
- Show only on 1 or 2 — disables one monitor. Not what you want here.
Select “Extend these displays” → click “Apply.”
Step 5: Set your primary display
Your primary display is where your taskbar and app windows open by default. In Display Settings, click on the monitor you want as primary, scroll down, and check “Make this my main display.”
Generally this should be the monitor directly in front of you.
Step 6: Match resolution and scaling
Each monitor should be set to its native resolution for the sharpest image. In Display Settings, select each monitor and check “Display resolution” — set it to the value marked “(Recommended).”
If text or apps look too small or too large, adjust the “Scale” setting (usually 100% for 1080p, 125–150% for 1440p or 4K at normal desk distance).
Step 7: Adjust brightness to match
This is optional but important for eye comfort. Mismatched brightness between two monitors causes eye strain. Use each monitor’s physical buttons to bring them to a similar brightness level — typically 20–40% brightness in a normal indoor environment.
Step-by-step: setting up dual monitors on Mac
Step 1: Connect the second monitor
If you’re using a MacBook with USB-C only, connect your adapter first, then the HDMI cable to the adapter, then to the monitor. Power on the monitor.
Mac should detect it automatically. If not, go to System Settings → Displays.
Step 2: Open Display Settings
Click the Apple menu → “System Settings” → “Displays.”
You’ll see a diagram of both monitors.
Step 3: Arrange the displays
Click “Arrange…” to open the layout editor. Drag the monitor rectangles to match your physical desk layout. The menu bar (thin line at the top of one rectangle) shows which is your primary display.
To change the primary display: drag the menu bar indicator from one monitor to the other.
Step 4: Set to Extended Display
Make sure your Mac is set to extend — this should be the default when two monitors are connected. If it’s mirroring, uncheck “Mirror Displays” in the Arrange view.
Step 5: Match resolution
Click on each monitor in the Displays settings. Click “Scaled” to see resolution options. Choose the option marked “(Default for display)” for the sharpest image.
Step 6 (MacBook specific): Close the lid or keep it open?
Many Mac users ask whether they should close their MacBook lid when using external monitors. Both work. Clamshell mode (lid closed) turns off the built-in screen and uses only external monitors — it requires the MacBook to be connected to power. Open lid gives you three screens (built-in + two external) which is a lot but works well.
Monitor arm setup (optional but recommended)
A dual monitor arm makes your setup look and function significantly better:
- Raises monitors to eye level (reduces neck strain)
- Frees up desk space
- Lets you push monitors closer together for a more seamless setup
- Allows quick repositioning
Best budget dual monitor arm: HUANUO FlowLift™ Dual Monitor Arm — Easy overall pick on amazon that has different sizing options. Around $50-$70 on Amazon. Check price →

Best upgrade option: Ergotron LX dual arm — the premium recommendation in r/homeoffice for monitors up to 27″. More sturdy, smoother adjustment, holds position better. Around $450. Check price →

Important: Check your monitor’s VESA mount compatibility. Most monitors have 75×75mm or 100×100mm VESA holes on the back. Verify before buying an arm.
A wireless keyboard and mouse cleans up your dual monitor setup significantly — see our wireless keyboard and mouse guide for the best options.
Spend a lot of time on Zoom?
Need a Webcam for your Monitor Check Out:
Common problems and how to fix them
Monitor not detected:
- Try a different cable
- Restart your computer with the monitor connected
- On Windows: Display Settings → “Detect” button
- On Mac: System Settings → Displays → hold Option key and click “Detect Displays”
Screen flickering:
- Usually a cable issue — try a different HDMI or DisplayPort cable
- On laptops, can indicate a power delivery issue — try using the laptop plugged into power
- Cheap USB-C adapters are the #1 cause of flickering on MacBooks — replace with an Anker or Apple-branded one
Resolution looks wrong / blurry:
- Make sure resolution is set to native (the recommended option)
- On Mac, 1080p monitors sometimes look blurry — try enabling “Scaled” and choosing a non-HiDPI resolution
Mouse moves the wrong direction between screens:
- Rearrange the monitor rectangles in Display Settings to match your physical layout
One monitor is darker than the other:
- Adjust brightness using the physical buttons on each monitor — they’re usually on the bottom edge or back
Productivity tips once you’re set up
Use your secondary monitor for reference material. Document you’re working on → primary monitor. Source material, email, Slack, browser → secondary. This is the most common and effective layout.
Keep communication apps on the secondary monitor. Slack, Teams, email — things you glance at but don’t actively work in. Keeps your primary monitor clean for focused work.
Try the 70/30 rule. 70% of your attention goes to the primary monitor (active work), 30% to the secondary (reference, monitoring). If you find yourself looking left or right constantly, reposition which app lives where.
Use virtual desktops alongside dual monitors. Windows (Win+Tab) and Mac (Mission Control) both support virtual desktops. Combined with dual physical monitors, you can have four effective work zones.
What to buy — quick reference
| Item | Budget pick | Upgrade pick |
|---|---|---|
| Second monitor | Used Dell P2422H (~$85 used) | LG 27QN600-B 1440p (~$190) |
| HDMI cable | AmazonBasics 3ft (~$5) | — |
| USB-C adapter (MacBook) | Anker 7-in-1 hub (~$35) | — |
| Dual monitor arm | HUANUO FlowLift (~$60) | Ergotron LX dual (~$130) |
All prices approximate. Check current pricing at checkout.